
There is a particular kind of quiet that arrives when you switch off a car engine at midnight, a mile from the nearest streetlight. The sky above is not black. It is crowded — faint bands of the Milky Way, satellites drifting over, more stars than you can reasonably point at.
You do not need a professional setup to photograph it. A modest camera, a sturdy tripod and a clear night will get you further than expensive glass. What follows is the practical version: where to go, what to set, and how to work around the two things that ruin most first attempts — the moon and the cloud.
Start with the darkest sky you can reach
Light pollution decides more about your results than any camera setting. The UK has a network of protected dark-sky areas, including Galloway Forest Park in Scotland, Kielder Water and Forest Park in Northumberland, Exmoor, Eryri (Snowdonia), Bannau Brycheiniog, the North York Moors and Yorkshire Dales, and the South Downs. The islands of Sark and Coll are among the darkest places in these isles.
You do not have to travel to a designated site, though. A quiet beach, a farm track, a hilltop car park or a bit of coastline twenty minutes outside a town can be perfectly workable. The simple test: if you can see the Milky Way with your naked eye, you can photograph it. If you cannot see it at all, no camera will conjure it up.
Plan the night before you pack the car
Most disappointing nights out are not caused by bad technique. They are caused by a bright moon or a blanket of cloud that nobody checked.
The moon comes first. Aim for the few days either side of a new moon. Just as important as the phase is when it rises and sets: a thin crescent that disappears at 11pm leaves you a genuinely dark window. If you can only go out when the moon is up, use it — a low moon throws long shadows and can light a foreground beautifully, though it hides the faint stuff.
Season matters. The centre of the Milky Way is visible from roughly spring to early autumn, sitting low in the southern sky. Find a spot with an unobstructed view to the south. In midsummer, true darkness barely arrives in the far north of Scotland and not at all in Shetland, so late August through April gives you far longer, deeper nights.
Cloud is the wild card. Look for an hourly cloud-cover forecast rather than a daily summary, and check the humidity too — heavy dew will fog your lens within an hour. A light-pollution map helps you find a genuinely dark patch close to home. Give your eyes twenty to thirty minutes to adapt once you arrive, and avoid looking at your phone screen at full brightness.
Camera settings that get you most of the way
These are a sensible starting point rather than rules. Adjust from here.
- Mode: Manual. Auto-exposure cannot cope with a mostly black frame.
- File format: RAW, so you can lift shadows and fix colour later.
- Aperture: as wide as your lens allows — f/2.8 or f/4 is ideal.
- ISO: start at 1600 to 3200. Push to 6400 only if you must; a slightly noisy image beats a blurry one.
- Shutter speed: use the 500 rule. Divide 500 by your focal length (full-frame equivalent) to get the longest exposure before stars start to trail. A 24mm lens gives you around 20 seconds.
- Focus: switch to manual, use live view, magnify to 10x and focus on a bright star until it is a tiny pinpoint. Then tape the focus ring so it cannot drift.
- White balance: around 3800K, or leave it on daylight and warm it up in editing.
- Everything else: turn image stabilisation off, use a two-second timer or a remote release, and shut off long-exposure noise reduction if it doubles your waiting time.
Check the histogram after each frame. You want the peak lifted off the far left without clipping, which usually means a slightly brighter image on the back of the camera than looks right.
Give the picture something to sit on
A sky full of stars with nothing else in it is a pattern, not a photograph. Put something in the bottom third: a lone tree, a ruined wall, a rock, a tent, a stretch of coastline, the curve of a hill. Keep it as a silhouette, or sweep a dim torch across it for a second or two — much less than you think. Too much light and the foreground looks flat and fake.
If star trails appeal more than sharp stars, you have two options. One very long exposure of several minutes will draw arcs but risks noise and heat. Better is to shoot many short frames and stack them in software afterwards, which is cleaner and gives you both versions.
If all you have is a phone
Phones have become genuinely capable at this. Put it on a small tripod or prop it against something solid, because hand-holding is the one thing that will defeat you. Use night mode, set the timer to three or ten seconds so the phone stops shaking before it starts, then tap the brightest star to focus and drag the exposure slider down a touch. Skip digital zoom entirely — crop afterwards instead.
If your phone shoots RAW or a ProRAW equivalent, use it. Stacking apps that combine several frames will cut noise noticeably, and a modest amount of editing — lift contrast, deepen the blacks, cool the white balance — makes a real difference. At a properly dark site, a phone on a tripod will comfortably beat a good camera held in your hands.
Comfort, safety and the small things
- A red torch or headlamp. White light wipes out your night vision for several minutes.
- More layers than you think, plus a hat and gloves. Standing still is much colder than walking.
- A flask, a camping chair and something to sit on.
- Spare batteries, kept in an inside pocket. Cold drains them fast.
- A microfibre cloth and a hand warmer taped near the lens to fight dew.
Tell someone where you are going and when you expect to be back. Park so you are not blocking a gate or a passing place, close any gates you open, and take everything home with you. The drive back after a long night is the part that catches people out — if you feel drowsy, stop.
Your first night out, step by step
- Pick a night within a few days of a new moon and with a low, broken cloud forecast.
- Arrive before dark, so you can find your footing and choose a foreground without stumbling about.
- Set up the tripod, compose with something in the lower part of the frame, and check your horizon.
- Focus at 10x on a bright star, tape the ring, then set f/2.8, ISO 3200 and 15 seconds to start.
- Review the histogram, then lengthen or shorten the exposure until it looks right.
- Expect a lot of near-misses. Everyone gets soft stars and orange skies on their first attempt.
Take one good frame, then stop fiddling and spend ten minutes just looking up. The photograph is the excuse; the night sky is the point.
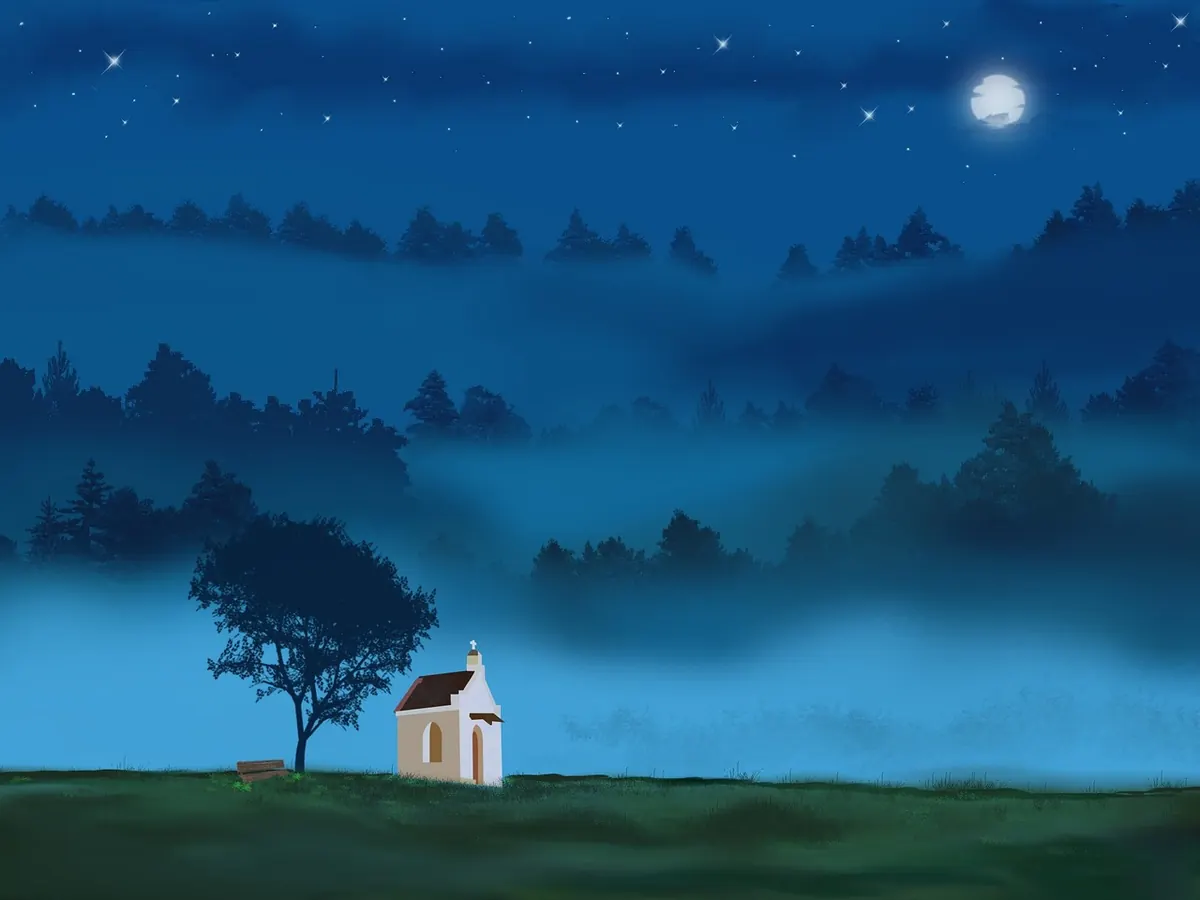
Photo: Bingodesigns / Pixabay