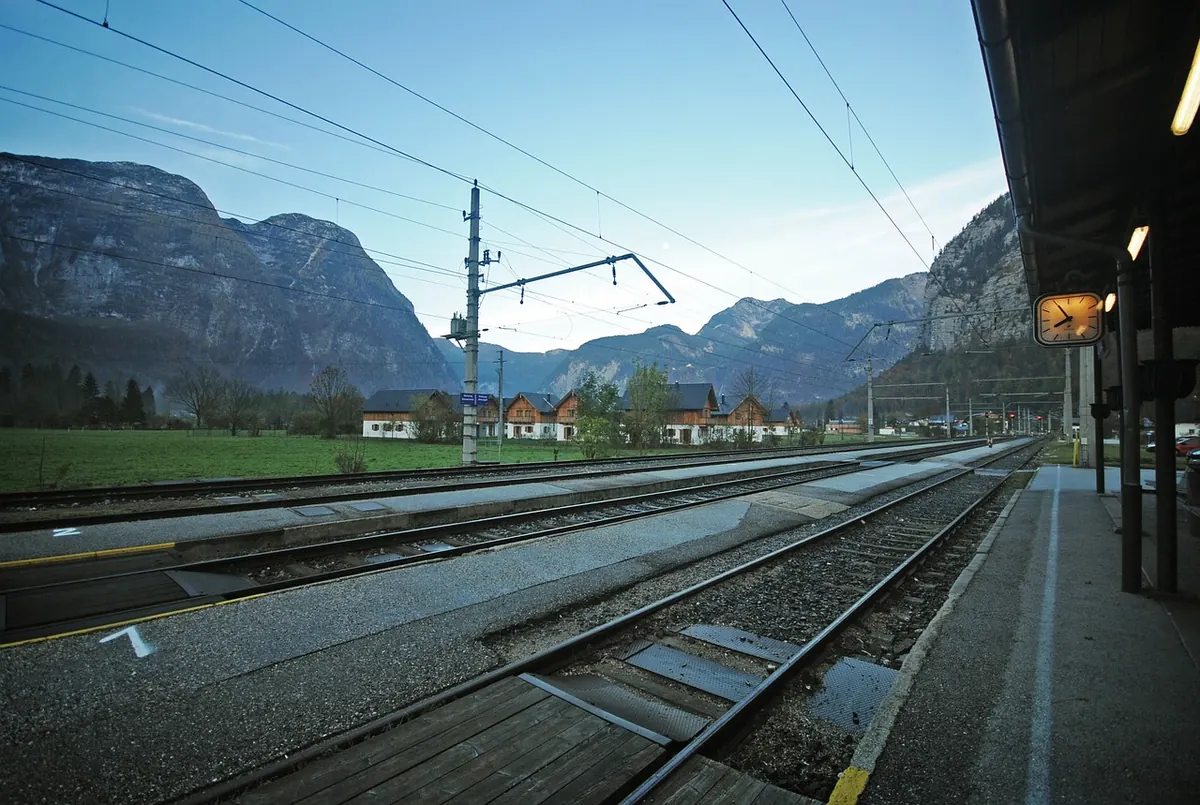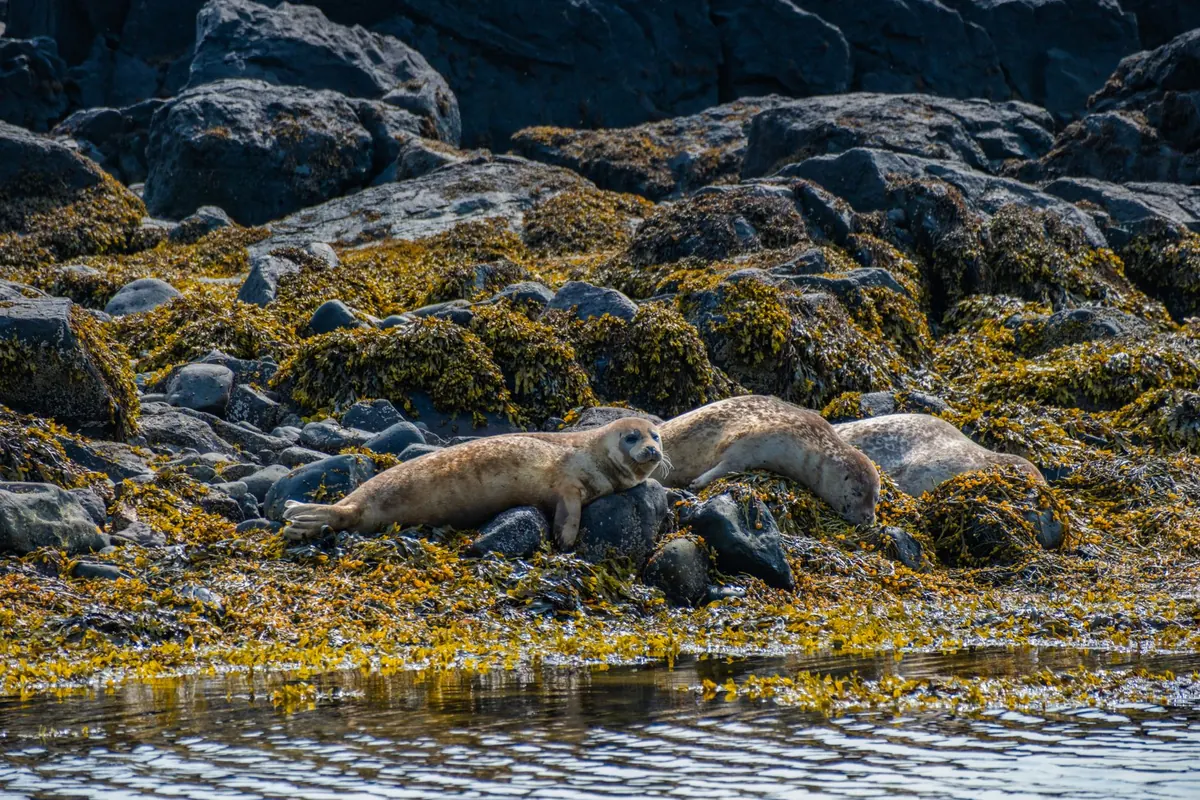

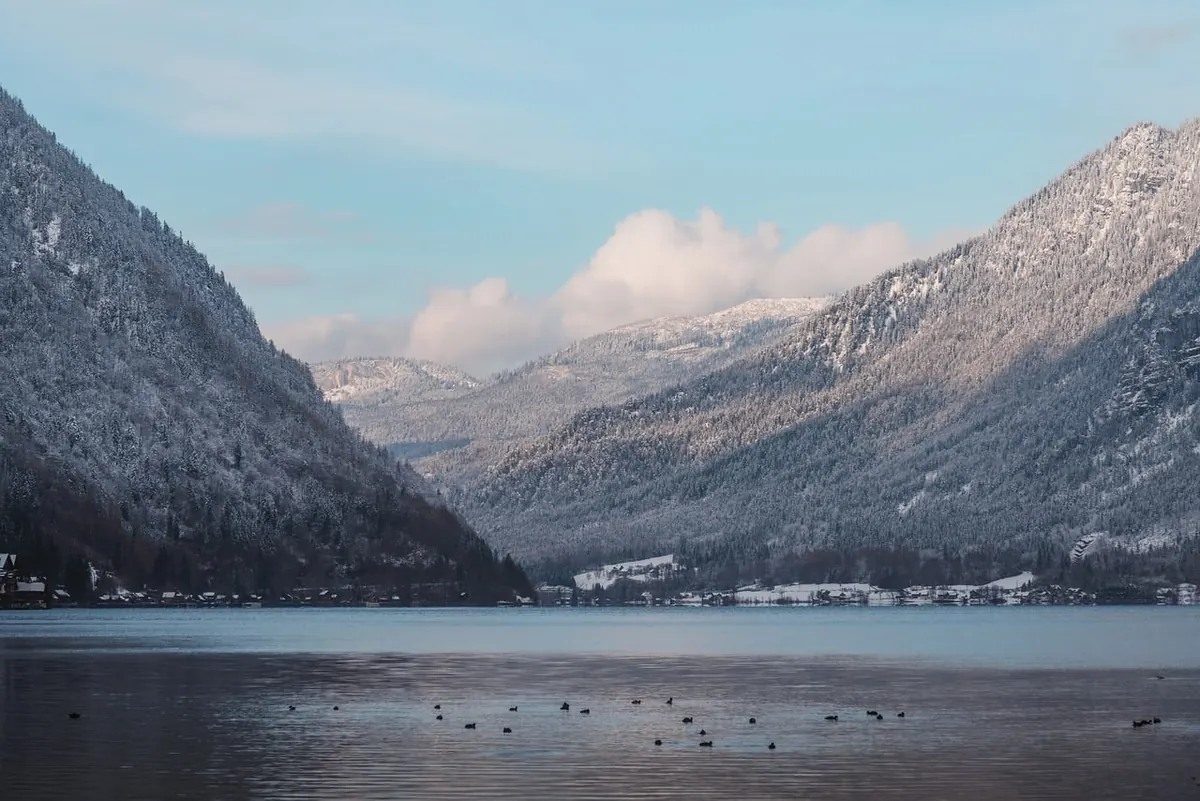
A forecast of low cloud and drizzle is usually enough to send photographers back indoors. That is a waste of good light. Overcast skies are Britain's default weather for much of the year, and they do something a clear blue sky cannot: they soften and spread the light until nothing blows out and nothing disappears into shadow. Work with that instead of waiting for a sunset that may never arrive, and you turn dozens of unpromising days into decent ones with a camera in your hand.
Flat Light Is Not Bad Light
Under thick cloud, the sun stops behaving like a spotlight and starts behaving like a studio softbox several miles wide. Contrast drops, shadow detail returns, and colours that normally get chewed up by bright sun — wet slate, moss, autumn leaves, fern fronds — hold their tone. You can shoot at midday without hard shadows cutting across a scene, and you can stay out all day rather than chasing two short windows of light.
The trade-off is drama. A grey sky gives you nothing on its own, and a wide view shot in flat light can look exactly as dull as the weather feels. The answer is not to hunt for a better day. It is to supply the contrast yourself, through subject choice, framing and a restrained edit.
Choose Subjects That Suit a Grey Sky
Some subjects actively improve when the sun disappears. Look for scenes built on texture, pattern and mood rather than grand light.
- Woodland interiors. Soft light keeps the tonal range manageable, so you can hold detail in trunks and canopy in the same frame.
- Water. Rivers, waterfalls and wet shoreline rock look richer without glare bouncing off the surface. A polariser earns its place here.
- Coast and cliffs. A long exposure of grey sea against dark rock gives you the moody look without needing a dramatic sky.
- Detail and abstraction. Rock strata, lichen, reeds, peeling paint, fences half swallowed by hedges, footprints in sand.
- Mist and low cloud. Layers of trees or hills fading into one another create depth with no directional light at all.
If the sky is genuinely featureless, treat it as atmosphere and move closer to whatever sits beneath it. Twenty paces forward often fixes a scene that looked hopeless from the car park.
Compose Around the Sky
Decide early what the sky is for. If it is a blank white sheet, you have two sensible options.
Use it as negative space
Place the horizon low in the frame — a sixth or a fifth of the way up — and let the emptiness do the work. This suits minimal scenes: a lone tree, a single rock, a jetty. Keep the rest of the picture quiet and uncluttered, because there is nothing to hide behind.
Or cut it out altogether
Drop the horizon below the bottom of the frame and photograph what is in front of you. A telephoto lens is useful here, compressing layers of hills, rooftops or trees into stacked bands. Compositions made entirely of land rarely miss a sky.
Whichever route you take, give the frame a foreground. Wet sand, gravel, bracken and paving all add depth and stop the image reading as a flat plane. Look for lines that lead the eye in: a fence, a stream, a path, a wall. And use a tripod for shutter speeds you would not otherwise risk, especially if you want motion blur in water or leaves.
Get the Exposure Right in Flat Conditions
Flat light is forgiving, but it still catches people out. The histogram, not the back of the camera, is your guide. In a low-contrast scene the graph bunches into a narrow band, and you usually have room to expose a little brighter than default — often a third to two thirds of a stop — which lifts midtones and keeps noise down. Just watch the right-hand edge for clipped highlights in water or pale rock.
White balance deserves more attention than usual. Cloud and shade push images cool, and a blue cast across grey stone is hard to forgive later. The overcast preset gets you close; a grey card or a raw file gives you more room to correct it afterwards. If you shoot JPEG, check the white balance setting before you start rather than fixing it in the evening.
Two accessories change what is possible. A polariser cuts glare from wet foliage and rock and deepens green even without direct sun — turn the ring and watch the effect rather than assuming a setting. An ND filter opens up long exposures, which is often the best way to give a still, grey day some movement and intent.
Edit for Depth Without Overdoing It
Flat files need contrast, but the cure is easy to over-apply. Work in a sensible order.
- Set white balance first. Warm the image slightly if it reads blue, and check skin-free scenes like woodland against what you remember.
- Darken the sky. A linear or graduated mask, dragged down to the horizon and pulled a stop or so, gives separation that the camera never saw.
- Apply a gentle tone curve. A shallow S-curve adds punch without crushing blacks or clipping whites.
- Adjust colour selectively. Greens in overcast woodland often drift yellow and muddy. In the HSL panel, nudge the hue towards true green and lift or lower the luminance until foliage separates from moss.
- Add texture, not global saturation. Clarity and texture work well on midtones such as rock, bark and water. The saturation slider across the whole image rarely helps.
Use dehaze sparingly; a small amount adds depth, too much creates halos around branches. And because flat scenes are mostly midtone, any noise reduction you apply to shadows will be visible, so keep exposure sensible in camera and lift shadows gently afterwards.
A Five-Step Routine for the Next Grey Day
Rather than improvising, run through the same short sequence each time the forecast looks dull.
- Check wind and rain as well as cloud, and choose a location with texture and shelter — a gorge, a wood, a rocky coast.
- Pack the tripod, polariser and a cloth for the lens. A hood and a dry bag save a session.
- Walk the scene before setting up. Find the foreground, then decide whether the sky stays or goes.
- Expose for the highlights and check the histogram, not the preview.
- Keep the edit short: white balance, sky, curve, greens, texture. Stop there.
Grey days are not a compromise. They are the most dependable light you will get, and the photographers who learn to use them are the ones still shooting in November while everyone else waits for spring.
Photo: ahmetyuksek / Pixabay